


How to organise your kitchen pantry
Storage ideas
Organising your pantry may seem like a total kitchen nightmare, but rest assured that once you invest a bit of time into ordering this area, you are sure to reap the benefits in the future when shopping, cooking and baking.
An organised pantry can save you time and energy, as well as money. Follow our simple steps to categorise your pantry and you'll wonder why you never did it sooner!
Step 1: Empty out and clean
You need a blank canvas to work from, so one of the first things you should do is empty your kitchen pantry, and give it a good clean! Removing everything will also give you a chance to look through your store cupboard and begin to access what you really need.
Place all the items onto a worktop and give the inside of your pantry a good wipe down. You could even try getting the nozzle of your hoover into those tight corners!
Step 2: The clear-out; be brutal!
Categorise your items into three piles; things you use regularly, things you use occasionally and the stuff you don't use at all. Move all the items that you need to one side to be collated.
Throw away everything from your kitchen pantry that has expired, and move anything that is about to go out of date into a separate pile. Store these together and make a mental note to include these products in your meal plans over the coming weeks, so you can use them up before they expire! Once your pantry is properly organised, you will avoid wasting food and money by using items before they perish.
Anything you decide you don't need, give it away to a friend, or donate it to charity.
Step 3: Categorise your items
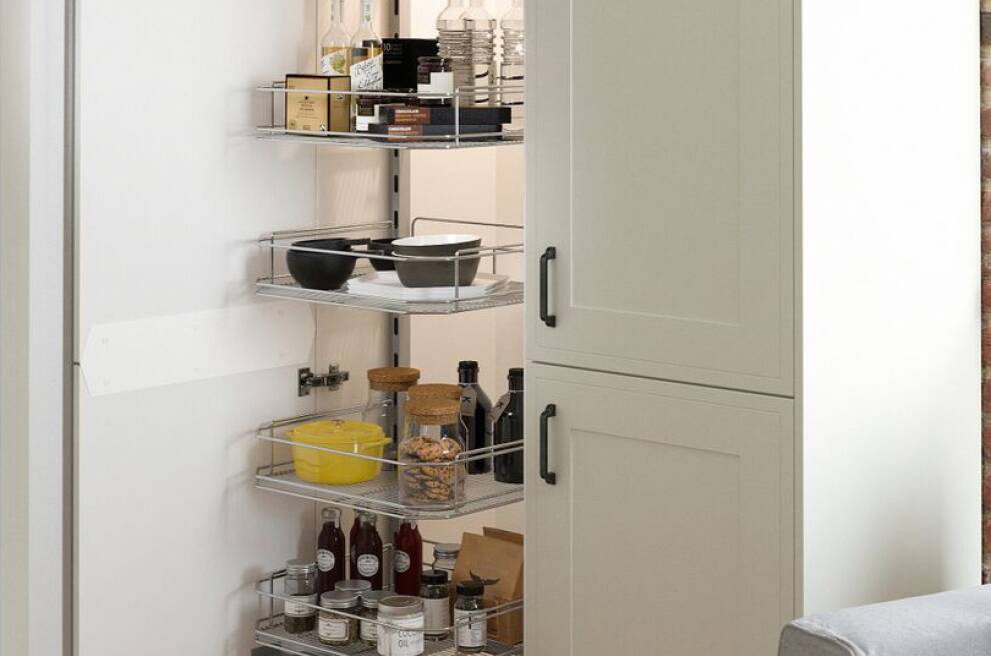
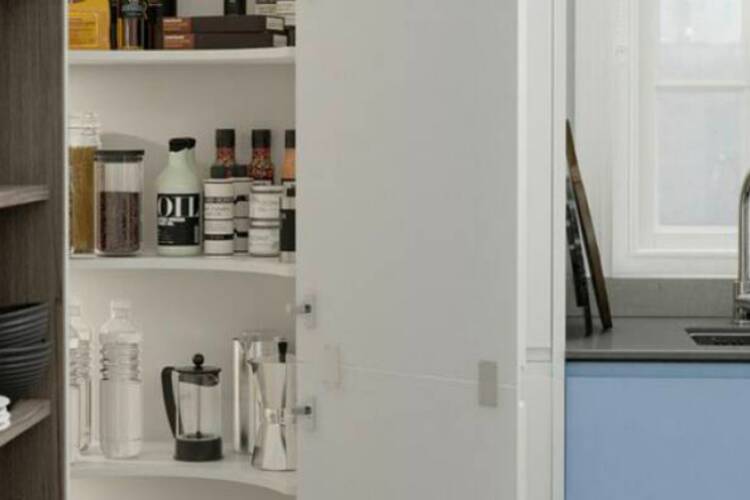
The next thing to do when organising your pantry, is to gather similar products up and store them together using boxes, baskets or dividers. Arrange items into groups, such as baking ingredients, spices, tins, soups, pastas and cereals. Having all relevant products together will save time when cooking, and will also make it easier to notice when something is running low, or needs replacing. Planning meals and grocery shopping will instantly become quicker as you can easily see what you already have in stock.
Step 4: Label and replace
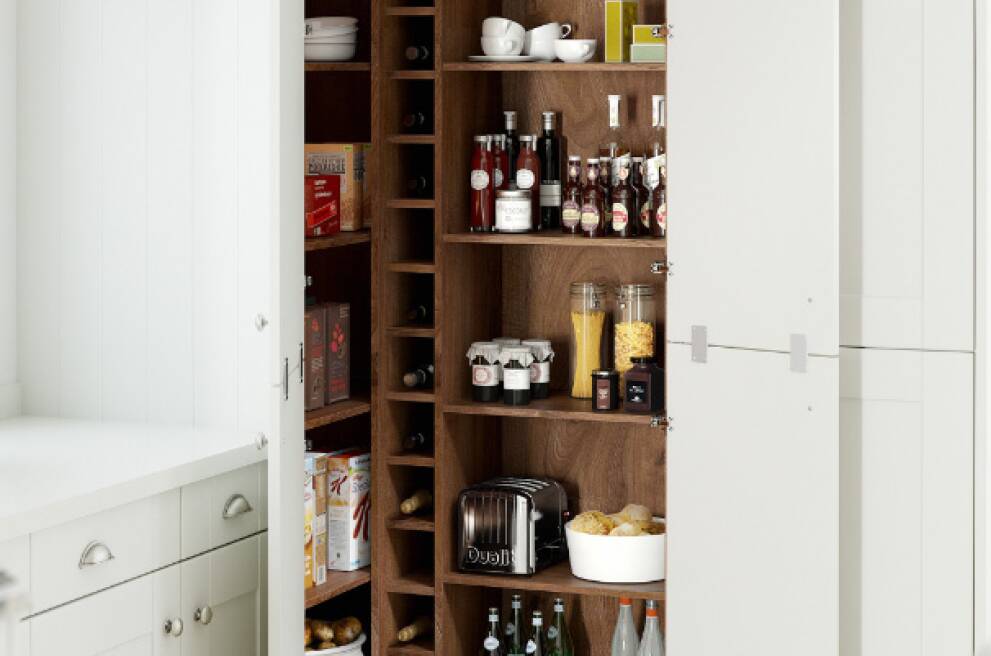
Dispensing pasta and cereals into Tupperware in your kitchen pantry will make it easier to store them away neatly, as the boxes can be stacked together. Make sure all containers are clearly labelled and all stickers are easily visible when opening the pantry door; you don't want to be riffling through every container-legacy when all you need is a dash of sugar!
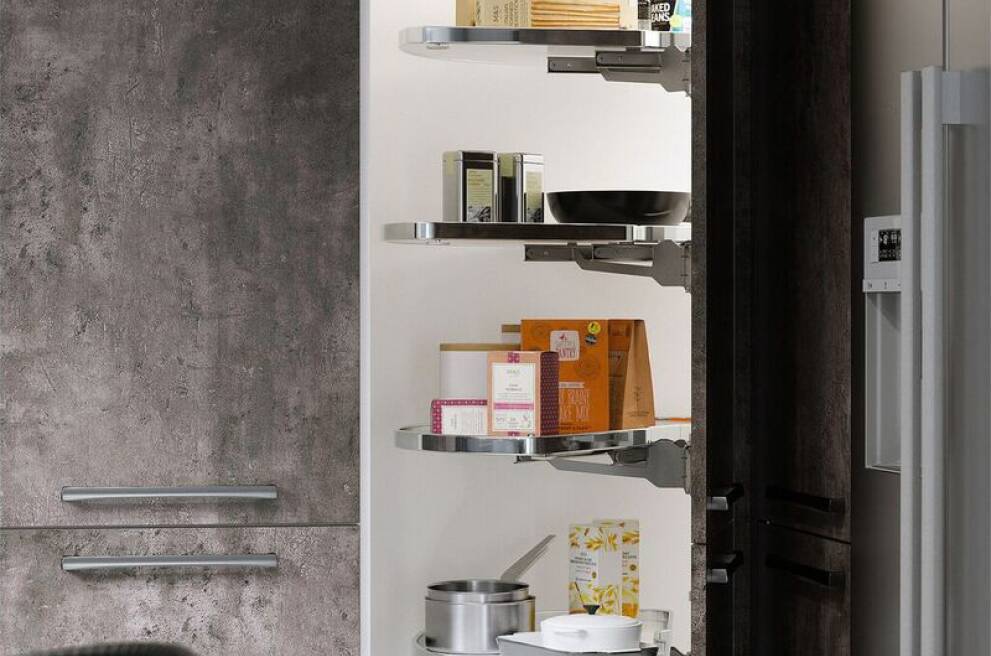
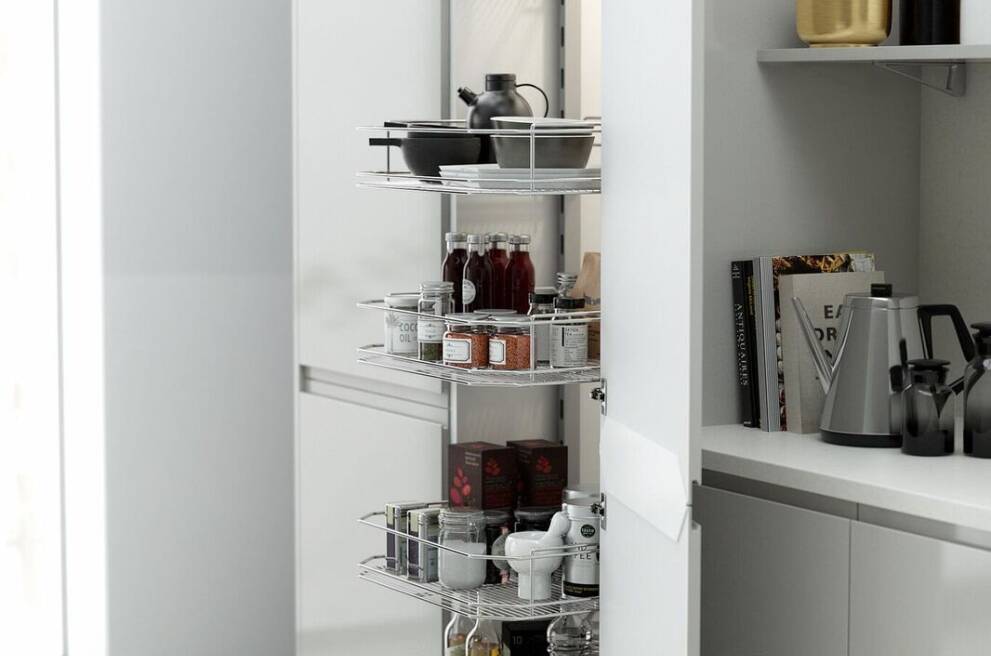
When refilling your pantry, be sure to stock items of regular use on easily accessible shelves, this will save time and energy when cooking and rarely used products can be housed towards the back.
Consider alternative kitchen storage solutions. For example, could you fix a rack onto your pantry door? This could be really handy for keeping spices and cooking oils.
Step 5: Finally: maintain it!
Knowing where your go-to items are and having a system in place ready for re-stocking the pantry kitchen can be a real godsend during a busy week.
When every pot, pan and utensil has its own designated space, cooking in the kitchen becomes quicker and simpler.
If you've taken your time to organise the pantry then it's important to make sure the rest of the family keep things in order. There's nothing worse than letting your hard work go to waste! To see how you can install a pantry – or even a kitchen larder – in your home, try out our online kitchen planner, or book an appointment to visit your nearest Wren showroom.
You may also like
Adding a larder to your kitchen
Find out how to incorpoate a larder into your kitchen to suit your lifestyle.
10 storage ideas for accessories
Learn more about kitchen storage options to make your kitchen more functional.
Corner units for extra storage
See how you can utilise hard to reach corner space to prevent clutter in your kitchen.