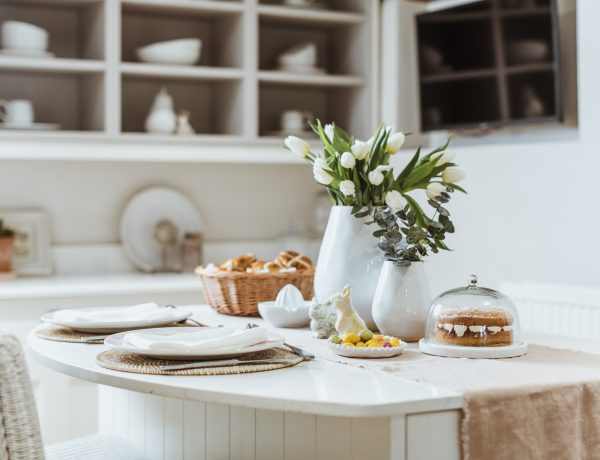
Spring has sprung, and the smell of chocolate eggs is in the air, which can only mean one thing, Easter is on its way. Many of us don’t need an excuse to decorate our homes for the season, especially when that season is characterised by pretty pastels and fresh florals, so its no surprise that Easter décor has risen in popularity over the years. From floral wreaths and garlands to painting eggs and making an Easter tree, there are many ways to bring the spirit of Easter’s into our homes.
Why not go a step further this year and create your own Easter décor? We’ve put together some of our favourite Easter DIY craft ideas to inspire you to create a perfect Springtime setting. Follow our guides and have fun with some kitchen crafts this Easter.
Everlasting Easter Wreath


You will need:
- Rattan grapevine wreath base
- Dried or fresh flowers and foliage (We used dried Gypsophila, Pampas Grass, Bunny Tails, Dried Wheat & Craspedia)
- Feathers (We chose a set that resembled Quail feathers)
- Hobby Wire
- Glue Gun
- Small decorative eggs, we chose blown Quail eggs (optional)
Method:
1. Lay out your supplies. Cut the stems of your flowers and foliage so you have approximately 5-15cm of stem left, depending on the size of your wreath.
2. Start tucking the dried flowers and foliage into the grapevine wreath, ensuring they are secure. We suggest first starting with your neutral tone flowers. This creates a ‘base layer’ to which you can add colours with the rest of your florals. We’re using dried Gypsophila.
3. Once you’ve added your base layer around the whole wreath, you can add the other flowers. Plan out where you want your pops of colour to be and tuck the stems into the grapevine wreath. Don’t worry if there are still some gaps; we can fill these in with the next few steps.
4. This step is optional, but if you’d like to add something to frame the wreath, add some contrasting texture and tone with an eye-catching piece of foliage. We chose dried pampas grass.
5. Use your feathers to fill in any gaps. Tuck them into all areas of your grapevine wreath and pay special attention to the outside. Feathers will help to fill these gaps and add a Springtime texture. Leave a few small spaces if you want to add some small eggs to your wreath.
6. Choose where you’d like your eggs to go, and use your glue gun to secure them to the base of the wreath. For the best results, keep the eggs spaced out. We used blown quail eggs and placed them in the gaps of the wreath.
8. Create a loop using hobby wire and attach it to the top of the wreath. This will be what you use to hang your wreath, so make sure it’s secure.
Hanging Easter Ornaments


You will need:
- Air dry clay
- Rolling pin
- Shape cutters
- Sealant
- Ribbon or string
- Sandpaper
- Small paintbrushes
- Acrylic paint (optional)
- Clay letter stamps (optional)
Method:
- Open your pack of clay and roll out a small amount on a smooth, flat surface with your rolling pin. Try and make it about 5mm in thickness.
- Once rolled, take your shape cutter, and press it into the clay. Remove the excess clay from the outside of the cutter. Use the end of a thin paintbrush to pierce a hole in the top of your shape. We will loop the ribbon through this hole to hang the decoration.
- If you’d like to add a name or words to the decoration, arrange your letter stamps into your desired word. Press them into the clay to make an indentation.
- If there are any visible rough edges around your shape, wet your finger and gently smooth them over. Leave to dry for 48-72 hours or until completely hard.
- Once your shapes have dried out, use sandpaper to sand away any rough parts of your decorations gently. You can skip this step if you’re happy with how they look.
- If you decide to add decoration, draw out your designs first in pencil. Choose which colour to paint your decorations. We tried out several ideas, from stripes to bunny faces; this is where you can get creative! If you’re happy with the original colour of your shapes, skip this step.
- After your paint has dried, coat your sealant across the shapes with a paintbrush, ensuring it is completely covered on both sides. Leave to dry.
- Using your ribbon or string, tie a loop through the hole in your shape to make the hanger.


Feeling inspired to do your own Easter DIY’s? Tag us in your kitchen crafts using #wrenovation!


No Comments